
Scheduled Adapter
12 May 2015
While developing a BizTalk solution it is common issue to trigger some process recurrently in a timely manner. One of the fastest solution is to use a BizTalk Scheduled Task Adapter.
The BizTalk Scheduled Task Adapter can be obtained under Microsoft Public License (Ms-PL) from CodePlex (biztalkscheduledtask.codeplex.com). You will find there compiled msi files as well as project source code. There are different adapter versions available for BizTalk Servers ranged from 2004 to 2013 R2 and .Net Frameworks from 1.1 to 4.5.
The Scheduled Task Adapter is a simple to deploy and use custom in-process receive adapter. The adapter allows to define tasks and executes them on configured schedule. Whole configuration is stored within the SSO database and can be exported and imported using the binding files.
Its capabilities are similar to Windows Scheduled Task Service, so you can schedule your task daily, weekly, monthly or in other time span ranged from seconds to hours. The task can be a message from an xml string, file, web site, SQL query or even a custom object of .Net class that implements given interface.
Installation process is supported by a setup wizard and is as simple as setting the directory path:
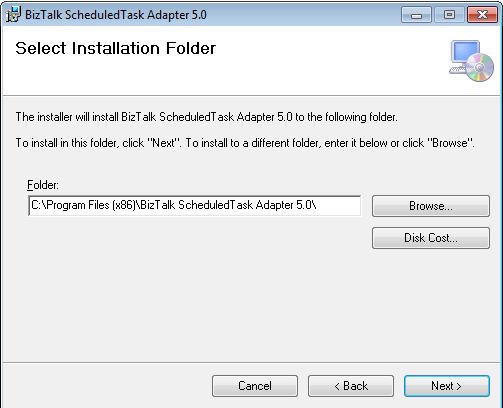
- The wizard will install assemblies in that directory and add them to Global Assembly Cache:

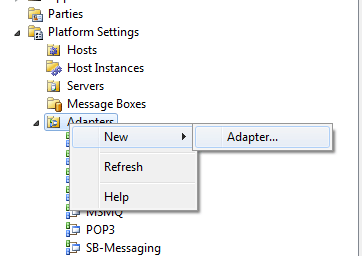
Next step is to register and configure the newly installed adapter. It can be done via BizTalk Administration Console:
-
Select BizTalk Server Administration -> BizTalk Group -> Platform Settings -> Adapters:
-
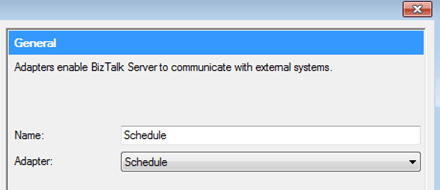
Set the adapter name and select adapter called Schedule in Adapter Properties page:
-
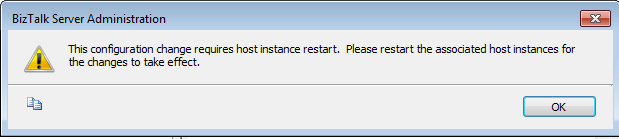
Afterwards you need to restart host instances associated with the adapter:
After finishing that steps you can start using adapter in your receive locations. The basic scenario with message from string may look like this:
-
Add new one-way receive location to existing receive port:
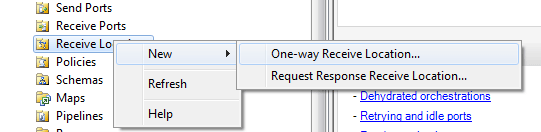
-
Set the receive location name and select Schedule as type. Then click Configure button and in General tab provide name once again:
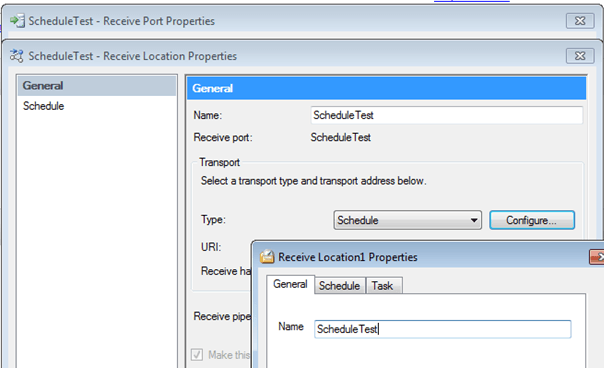
-
Select the start date and time, schedule type and interval, if applicable:
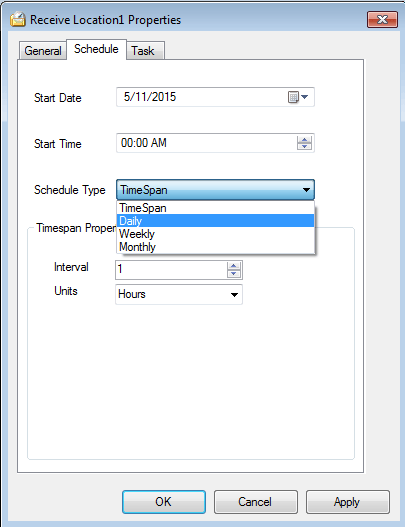
-
In the Task tab you will need to set the proper class for selected task type by clicking Find Task button:
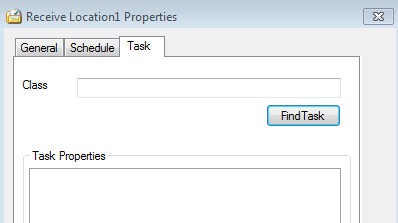
-
In this case it will be XmlStringProvider from ScheduledTaskAdapter.TaskComponents assembly:

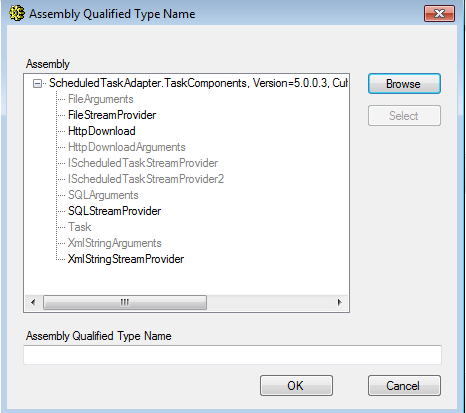
-
Later on, you can specify the message that will be received from location using an XmlString property and Xml Text Editor:
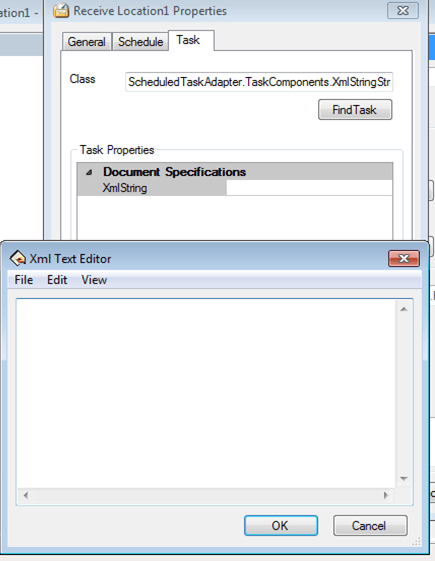
- After configuration confirmation your receive location is fully ready.
Author: Rafał Zniszczoł
back